
How to Frame Finished Needlepoint: Step-by-Step
Table of Contents
- How to Frame Finished Needlepoint: A Step-by-Step Walkthrough
- Preparing and Blocking the Finished Canvas
- How to Stretch Needlepoint for Framing With Even Tension
- Needlepoint Framing Materials: What to Buy and What to Skip
- The Needlepoint Framing Staple Method, Explained
- Frame Sizing, Matting, and Allowance Calculations
- Professional Needlepoint Framing vs DIY: Which Should You Choose?
- Troubleshooting Wrinkles, Skewing, and Uneven Tension
- Frequently Asked Questions
Last Updated: October 12, 2026
How to Frame Finished Needlepoint: A Step-by-Step Walkthrough
You just spent weeks on a canvas, and now it sits in a drawer because framing feels like a mystery. This guide from Golden Hour Needlepoint walks you through how to frame finished needlepoint from the first press to the final hanger. We'll show you how to block, stretch, and secure your work so it stays flat and centered for decades.
Framing is the difference between a finished project and a forgotten one. A well-framed piece protects the stitches, holds the canvas tight, and turns your work into something you actually want on the wall. Below, we cover every step, plus the mistakes that ruin a good canvas.
What You'll Need Before You Start
Gather your tools first so you're not hunting mid-project. Here's the short list:
- Acid-free backing board (foam core or mat board)
- Staple gun with stainless steel staples
- Stretcher bars or a wooden frame
- Quilting pins or rustproof pins
- Iron and clean pressing cloth
- Tape measure and pencil
- Frame, mat, and glass sized to your stitched area
Library of Congress guidance on archival framing materials
Now let's prep the canvas itself.
Preparing and Blocking the Finished Canvas
Blocking is the step most beginners skip, and it's the one that matters most. Blocking means dampening and reshaping the canvas so it dries square. Without it, your finished needlepoint will look crooked no matter how well you frame it.
Here's how to block the canvas:
- Lay the piece face down on a clean towel.
- Mist it lightly with water. Don't soak it.
- Pin the edges to a board, pulling gently until it's square.
- Let it dry fully, usually overnight.
Check the stitched area against a straight edge before you unpin. If the corners don't line up, re-mist and try again.
How to Stretch Needlepoint for Framing With Even Tension
Learning how to stretch needlepoint for framing comes down to one rule: pull toward the center, never the corners. Uneven pulling is what causes skewing and puckering later.
Start by centering the canvas on your backing board. Measure from the stitched area, not the raw canvas edges, so the design sits where you want it. Pin the middle of each side first, then work outward. Check the tension as you go. The canvas should feel firm but not drum-tight.
- Pin top center, then bottom center
- Pin left center, then right center
- Work outward in small steps
- Recheck square after every few pins
Needlepoint Framing Materials: What to Buy and What to Skip
Buy acid-free or archival materials for anything that touches the canvas. Acid-free materials won't yellow or break down over time, which protects both the threads and the fabric.
| Material | Buy It? | Why |
|---|---|---|
| Acid-free foam core | Yes | Won't stain or yellow the canvas |
| Stainless steel staples | Yes | Rust-proof, long-lasting |
| Standard cardboard | Skip | Acidic, yellows over time |
| Regular masking tape | Skip | Dries out and stains |
| UV-filtering glass | Yes | Blocks fading from sunlight |
| Cheap plastic frame | Skip | Warps and won't hold tension |
The one drawback of archival materials is cost. They run higher than craft-store basics, but for a piece you spent weeks on, the protection is worth it.
The Needlepoint Framing Staple Method, Explained
The needlepoint framing staple method is the fastest way to secure a canvas to a frame or stretcher bars. It holds tight, sits flat, and works for both DIY framing and professional framing setups.
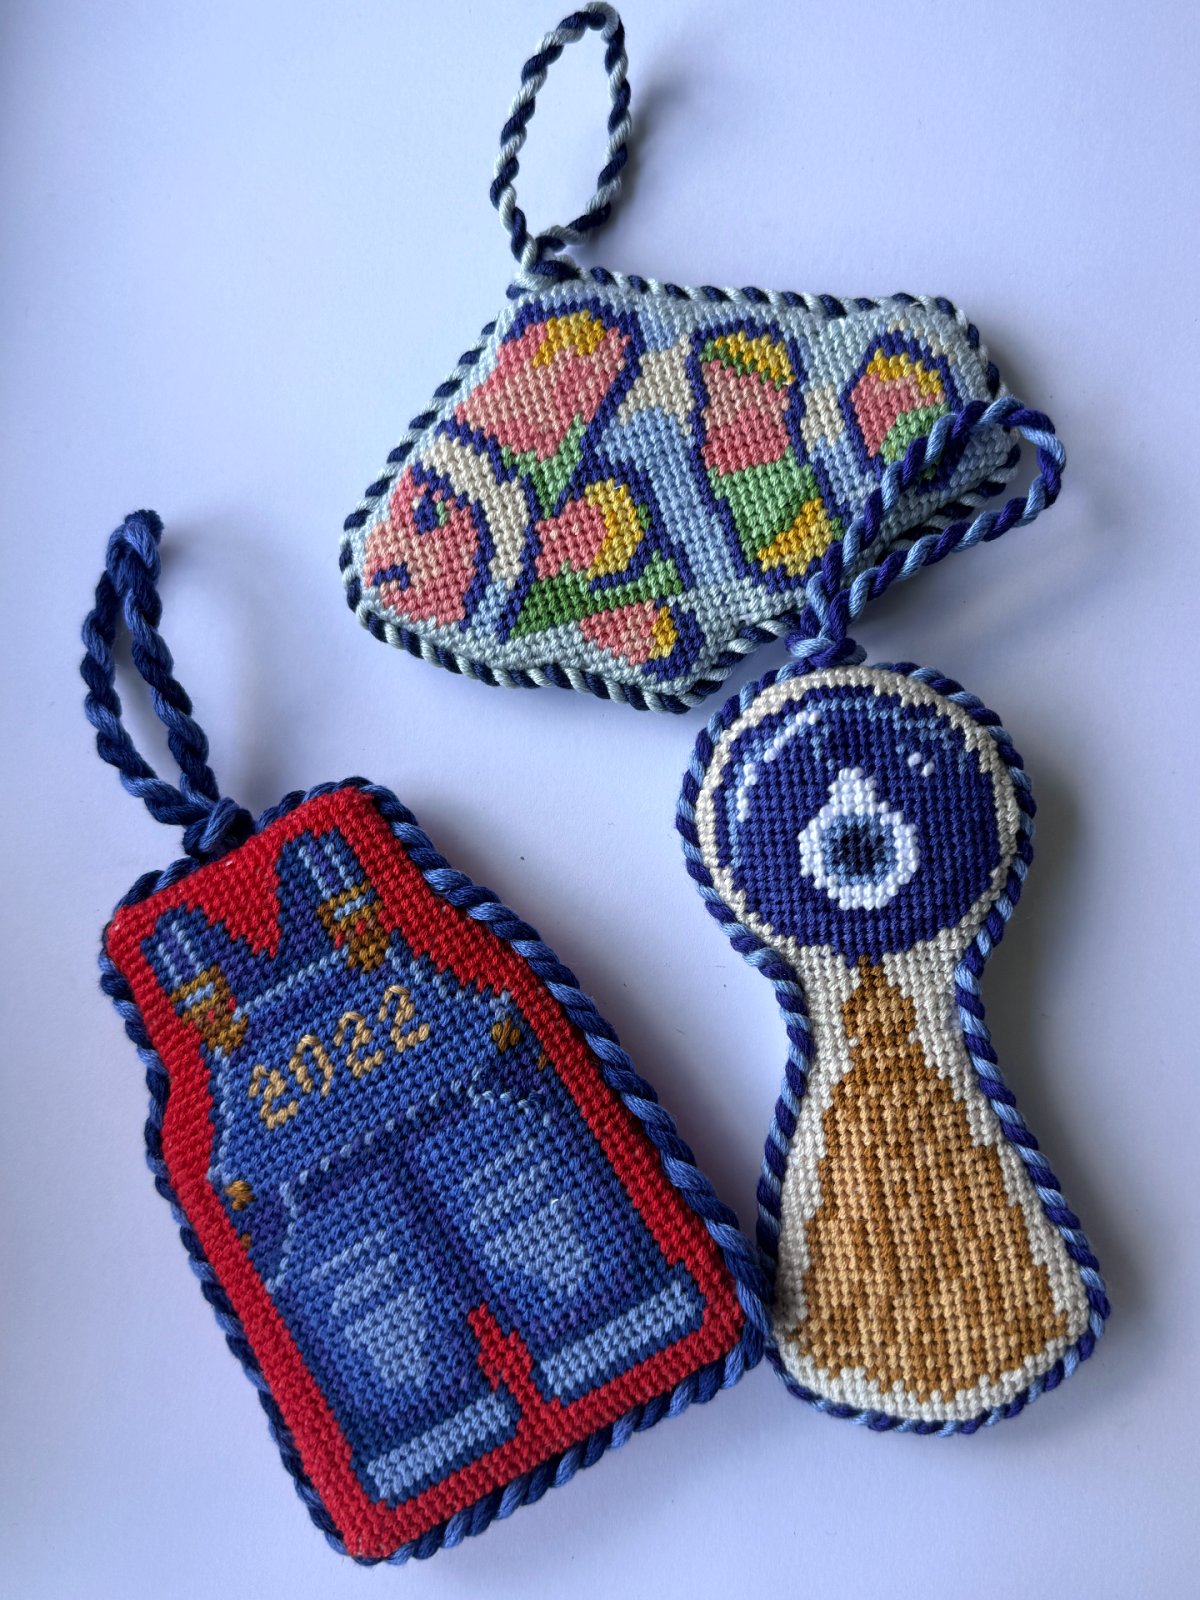
Here's the sequence:
- Center the canvas on the frame.
- Staple the middle of one side.
- Staple the opposite middle, pulling gently.
- Work toward the corners, alternating sides.
- Fold and miter the corners last.
Leave the corners for the end. This keeps the tension even and lets you fold clean mitered corners without fighting the fabric. A common mistake is stapling all of one side before moving on. That pulls the canvas off-center every time.
Frame Sizing, Matting, and Allowance Calculations
Most framing mistakes start with a tape measure, not a staple gun. Get the numbers right first and the rest of the process is mechanical.
The three measurements that matter
- Stitched area, the rectangle covered by thread. Measure it, don't trust the chart's stated size; canvas can shift slightly during stitching.
- Canvas allowance, the raw canvas beyond the stitches. You need at least 2 in (5 cm) on every side for stretching and stapling. For heavily embellished or beaded edges, allow 3 in (7.5 cm) so you're not stapling through beads.
- Frame opening, the visible area inside the frame's rabbet (the recessed lip the glass and art sit in). This is what the viewer actually sees.
Worked example: a 6 in × 8 in stitched area
Say your stitched area measures 6 in × 8 in (15 cm × 20 cm).
- No mat: frame opening = 6 in × 8 in. Add a small reveal of 1/8 in (3 mm) per side so the stitches aren't clipped by the rabbet, order a frame with a 6 1/4 in × 8 1/4 in opening.
- With a 2 in mat border: mat outer size = stitched area + 2 × mat border = 10 in × 12 in. The mat opening stays at 6 in × 8 in (plus the 1/8 in reveal). Order a frame sized to the mat's outer dimensions, not the stitches.
- Canvas allowance check: with a 2 in mat border, the mat covers 2 in of canvas on each side. If your raw canvas only extends 2 in past the stitches, you have zero margin for stapling. This is why you cut canvas with 3 in of allowance when you plan to mat, the mat hides 2 in, leaving 1 in to staple.
Rabbet depth: the number nobody mentions
A frame's rabbet must be deep enough to hold the stack of glass + mat + backing board + canvas. A typical stack is:
- Glass: 1/16 in (1.5 mm)
- Mat board: 1/16 in (1.5 mm) if single mat
- Foam core backing: 3/16 in (5 mm)
- Canvas thickness: 1/16 in (1.5 mm)
That's roughly 3/8 in (9-10 mm) of depth. Many ready-made frames have only 1/4 in (6 mm) rabbets and won't close over a stretched canvas. Check rabbet depth before you buy, or plan to use a frame with a deeper profile.
Mat or no mat?
A mat adds a visual border and keeps the glass off the stitches, which matters for textured work. Without a mat, the glass can press down on raised stitches and flatten them over time. If you skip the mat, use spacers (small plastic or foam strips) between the glass and canvas to create an air gap.
If you're using a digital chart from Golden Hour Needlepoint, our needlepoint mesh calculator works out the final stitched size for you. That takes the guesswork out of picking a frame before you start stitching.
Professional Needlepoint Framing vs DIY: Which Should You Choose?
DIY framing saves money and gives you full control. Professional framing saves time and handles tricky pieces, like beaded or heavily embellished canvases, that need special care.
Choose DIY if:
- Your canvas is flat and simple
- You want to save money
- You enjoy the finishing process
Choose professional framing if:
- The piece has beads, sequins, or fragile threads
- It's an heirloom you want insured
- You don't own the tools
The honest trade-off is time versus money. DIY costs less but takes an afternoon and some practice. Professional framing costs more but delivers a flawless result with less risk to the canvas.
Smithsonian Institution conservation guidelines for textiles
Troubleshooting Wrinkles, Skewing, and Uneven Tension
Most framing problems trace back to one of three causes: uneven pulling, damp canvas, or skipped blocking. Here's how to fix each.
Wrinkles: Re-mist the canvas, re-pin, and let it dry flat. Wrinkles usually mean the canvas wasn't fully dry before stretching.
Skewing: Unpin the canvas and re-center. Skewing happens when you pull one side harder than the others.
Puckering: This means the tension is too tight in one spot. Ease off the pins or staples near the pucker and redistribute.
Uneven tension: Work in smaller steps from the center out. Big pulls cause big problems.
If a pucker won't budge, check the back. A stray thread or knot behind the canvas can push the fabric out of line. Smooth it flat before you re-stretch.
Frequently Asked Questions
How much border should you leave when framing needlepoint?
Leave at least 5 cm of unstitched canvas on every side of the stitched area. That margin gives you enough canvas to grip, pin, or staple while stretching, and it allows for minor adjustments if the design isn't perfectly centered. If you plan to use a mat, add another 2.5 cm so the mat doesn't overlap your stitches. Measure your stitched area first, then add the border before ordering a frame.
Can you frame needlepoint without glass?
Yes. Many needlepointers frame without glass so the texture of the stitches stays visible and the canvas can breathe. Without glass, keep the piece away from direct sunlight, cooking grease, and damp rooms, since dust and UV light will dull the fibers over time. If you use glass, choose UV-filtering glass and add a spacer so the glass doesn't press against the stitches.
How do you keep needlepoint canvas straight when framing?
Block the canvas first by misting it lightly and pinning it square to a corkboard or foam board to dry. Then stretch it over stretcher bars or a mounting board, working from the center outward and pulling toward the center of each side, not the corners. Check alignment against a T-square or the frame's inside edge before you staple or pin. Even tension on all four sides is what keeps the design square.
What materials do you need to frame finished needlepoint?
You'll need acid-free backing board or foam core, stretcher bars or a mounting board, stainless steel pins or a staple gun with stainless staples, a T-square, a soft cloth or towel, and optional mat board, UV glass, and hanging hardware. Avoid regular cardboard and masking tape, which turn acidic over time and stain the canvas. Acid-free and archival materials protect the fibers and keep the finished project looking new for decades.
Framing a finished canvas shouldn't feel like a gamble. With the right materials, even tension, and a little patience, your needlepoint becomes a piece you're proud to hang. At Golden Hour Needlepoint, we design modern heirloom canvases and digital charts that make the whole process easier, from our mesh calculator that sizes your project to patterns built to last. Explore our collection and find your next project today.