
Needlepoint for Complete Beginners: A 2026 Guide
Table of Contents
- Why Needlepoint Is Easier Than You Think
- Getting Started with Needlepoint: What You Actually Need
- Choosing Your First Canvas and Thread Together
- Needlepoint Stitches for Beginners: Start with One
- Beginner Needlepoint Kits: What to Look For
- Preparing Your Canvas and Threading Your Needle
- How to Finish a Needlepoint Project
- Troubleshooting Common Mistakes Before They Happen
- Frequently Asked Questions
Last Updated: October 11, 2026
Why Needlepoint Is Easier Than You Think
Most people assume needlepoint for complete beginners requires years of practice or innate talent. That's false.
The barrier to entry isn't skill, it's knowing what supplies to buy and which stitch to start with. Once sorted, the rest is meditative, satisfying repetition.
Needlepoint for complete beginners works because the craft has built-in structure: your canvas is marked, thread colors are predetermined, and stitch counts are counted for you. You're executing a plan, not making design decisions.
Getting Started with Needlepoint: What You Actually Need
Needlepoint supplies for beginners are surprisingly minimal: canvas, thread, a needle, and something to hold the canvas taut. Everything else is optional.
Canvas Types and Mesh Count
For needlepoint for complete beginners, mono canvas is your best starting point: it's straightforward, forgiving, and readily available.
Mesh count refers to threads per inch. Lower mesh counts (13, 14) mean larger holes, thicker stitches, and faster completion. Higher mesh counts (18, 22) create finer detail but take longer.
For needlepoint for complete beginners, start with 13 or 14-mesh canvas: stitches are visible, projects finish faster, and motivation stays high.
Needlepoint Supplies for Beginners
A tapestry needle is essential: blunt tip, large eye, designed for thread. Needle size corresponds to mesh count: 18-gauge for 18-mesh, 13-gauge for 13-mesh.
Thread comes in two forms: DMC floss (thin, for finer meshes) and tapestry yarn (thick, for lower mesh counts). Your pattern specifies which to use.
A frame or hoop holds your canvas taut and keeps tension consistent. A simple embroidery hoop works; a floor stand is more comfortable but not necessary for beginners.
Choosing Your First Canvas and Thread Together
Most beginners stumble here by picking a design without checking mesh-to-thread compatibility or realistic timeline. Canvas, needle, and thread work as an interconnected system.

The Mesh-to-Needle-to-Thread Chain
13-mesh canvas has large holes requiring a 13-gauge needle and thick thread (tapestry yarn or 6-strand floss). Projects finish fastest (10-20 hours for small pieces).
14-mesh canvas is a sweet spot for first projects: uses a 14-gauge needle with 4-6 strands of DMC floss or tapestry yarn, allowing visible, forgiving stitches with finer detail.
18-mesh canvas requires an 18-gauge needle and thin thread (2-3 strands DMC floss). Projects take 30-50 hours but show more detail, better as a second project.
22-mesh and finer require magnification and are not recommended for beginners.
Why This Matters: The Coverage Problem
Mismatched canvas and thread create problems: thick yarn on fine mesh bunches; thin floss on coarse mesh leaves gaps.
Follow the pattern's specified mesh count and thread type, designers have tested these combinations for proper coverage.
Choosing by Timeline and Commitment
Decide your realistic timeline first, an unfinished project teaches discouragement, not skill.
One month or less: 13-mesh, small design, tapestry yarn (8-15 hours). One to three months: 14-mesh, medium design, 4-6 strands floss (20-40 hours). Three months or longer: 18-mesh, detailed design, 2-3 strands floss (50-100+ hours). Adjust for 1-2 hours daily stitching.
The Practical Compatibility Checklist
Before ordering, verify: (1) canvas mesh count, (2) needle size matches mesh, (3) thread weight matches mesh, (4) finished size is realistic for your timeline, (5) thread quantity is specified (add 20% extra if working from a chart).
Needlepoint Stitches for Beginners: Start with One
Needlepoint offers dozens of stitches, but you only need one to complete beautiful projects. Master that stitch first.
The Tent Stitch: Your Foundation
The tent stitch is your starting point: tiny diagonal lines across your canvas, one stitch per intersection.
For needlepoint for complete beginners, use half-cross: it's easiest, uses less thread, and is forgiving. Stick with it until you've completed a full project. Adding other variations later is natural progression.
When to Add Half-Cross and Basketweave
After completing your first project, you'll have the intuition to try other stitches. Basketweave is more durable; Continental creates different texture; half-cross is fastest. The mechanics are nearly identical, so adding a second variation takes one project.
Beginner Needlepoint Kits: What to Look For
The best beginner kits include stitch-printed canvas (pattern printed directly on canvas, no counting), pre-sorted thread, appropriately sized needle, and clear instructions.
Check whether thread is pre-sorted and labeled, worth the extra cost for beginners. Verify finished size: under 6 inches is ideal for first projects.
| Kit Feature | Beginner Priority | Why It Matters |
|---|---|---|
| Stitch-printed canvas | High | Eliminates counting; reduces errors |
| Pre-sorted thread | High | Saves organization time |
| Included needle | Medium | Ensures correct size for mesh |
| Clear instructions | High | Prevents frustration early on |
| Finished size under 6" | High | Keeps first project manageable |
Preparing Your Canvas and Threading Your Needle
Before your first stitch, bind canvas edges with tape to prevent fraying. Stretch onto a frame or hold taut in a hoop for consistent tension.
Cut thread to 18 inches (longer threads tangle). Fold in half, insert fold through needle eye, pull ends through to create an automatic knot.
How to Finish a Needlepoint Project
Blocking (wet-pressing) is the simplest finish: spray damp, lay flat on a towel, pin edges, let dry overnight. This settles stitches and removes puckering. For your first project, frame it with a basic craft store frame for instant wall art.
Troubleshooting Common Mistakes Before They Happen
Most beginner mistakes fall into predictable categories. Knowing them in advance, and knowing how to fix them, prevents frustration and keeps you stitching instead of abandoning the project.
Uneven Tension: The Most Common Issue
Uneven Tension: Some stitches are tight, others loose. Cause: Inconsistent pull force. Prevention: Maintain consistent pull pressure, not tight, just consistent. This becomes automatic by stitch 100. Fix: If noticed early, frog and redo with measured pulls. If noticed later, continue forward; the difference will be invisible once framed.
Skipped Stitches and Miscounts
Skipped Stitches: You miss a stitch or miscount. Prevention: Use stitch-printed canvas (pattern printed directly on canvas, nothing to count). If using counted patterns, mark your place every 10 stitches. Fix: If noticed immediately, frog and redo. If noticed later, fill in the skipped stitch by weaving through existing stitches, the imperfection will be invisible once framed.
Stitch Direction Confusion
Stitch Direction Confusion: Stitches angle different directions. Prevention: Watch angle for first 20 stitches; muscle memory takes over. Follow pattern specifications exactly. Fix: Frog and redo wrong-direction stitches, takes 10 seconds and teaches correct direction for future projects.
Thread Running Out Mid-Project
Thread Running Out: You run out mid-color. Prevention: Patterns specify thread quantities; kits pre-calculate. For charts, count stitches per color and add 20% extra. Fix: Use a slightly different shade of the same color, most won't notice, and it's better than leaving the project incomplete.
Canvas Distortion and Puckering
What it looks like: Your canvas is warped or puckered, especially around the edges. The finished piece doesn't lie flat.
Why it happens: Uneven tension (pulling too hard in some areas), working without a frame or hoop (letting the canvas move around), or using the wrong stitch type for your tension level.
How to prevent it: Keep your canvas stretched taut in a frame or embroidery hoop while you work. This prevents the canvas from shifting and distorting.
How to fix it: Blocking (wet-pressing) will fix most puckering. Spray your finished piece lightly with water until damp.
Knots Showing on the Front
What it looks like: You see a visible bump or knot on the front of your finished piece where you secured your thread.
Why it happens: You tied a knot on the front of the canvas instead of securing thread on the back side.
How to prevent it: Never start with a knot on the front of the canvas. Always secure thread on the back side, where it won't show.
How to fix it: If you've created a knot on the front, frog that stitch, tie the knot on the back instead, and redo the stitch.
Thread Tangling and Fraying
What it looks like: Your thread tangles into knots as you stitch, or the ends fray and split, making it difficult to thread the needle or pull through the canvas.
How to prevent it: Cut thread lengths to about 18 inches. Longer threads tangle; shorter threads mean more frequent rethreading, but less tangling overall.
How to fix it: If your thread tangles, stop and gently unwind it. Don't pull harder; that tightens the knot.
Frequently Asked Questions
What is the easiest needlepoint stitch for beginners?
The tent stitch is the foundation for needlepoint for beginners. It's simple: one diagonal stitch over one canvas intersection. Once you master the tent stitch, you have the core skill needed for nearly every needlepoint project. Half-cross and basketweave stitches come later, master the tent stitch first, and everything else builds naturally from there.
What supplies do you need to start needlepoint?
Needlepoint supplies for beginners include canvas, a tapestry needle, thread or floss, and a frame or hoop to hold your work. You'll also need scissors and a needle threader. Beginner needlepoint kits bundle these together, but you can buy items separately. Golden Hour Needlepoint's digital charts include full DMC floss lists so you know exactly what to purchase.
Is needlepoint an expensive hobby?
Needlepoint doesn't have to be expensive. A beginner kit or small digital chart costs $5-$7, canvas runs $10-$30, and basic floss is affordable. Mini projects like the P Keyfob Chart or Mini Goldfish design from Golden Hour Needlepoint are designed for beginners and cost just $5-$7 as digital downloads. Your first project investment is typically under $50, and supplies last for multiple projects.
How do you choose a needlepoint canvas and thread together?
Start by choosing your design. A higher mesh count (18 or 22) creates finer detail but requires smaller stitches; lower mesh (13 or 14) is faster and easier for beginners. Once you pick your canvas mesh, use Golden Hour Needlepoint's mesh calculator to determine the finished size. Then select your thread color from the provided DMC floss list. This sequence ensures your finished piece matches your vision.
What is the difference between tapestry and needlepoint?
Needlepoint uses a single needle and thread on canvas with counted stitches, while tapestry typically refers to woven fabric or larger-scale work. Needlepoint for beginners focuses on counted stitches on canvas, you follow a chart and build the design stitch by stitch. This makes needlepoint more accessible because you're working with a clear pattern, not freehand design.
How do you finish your first needlepoint project?
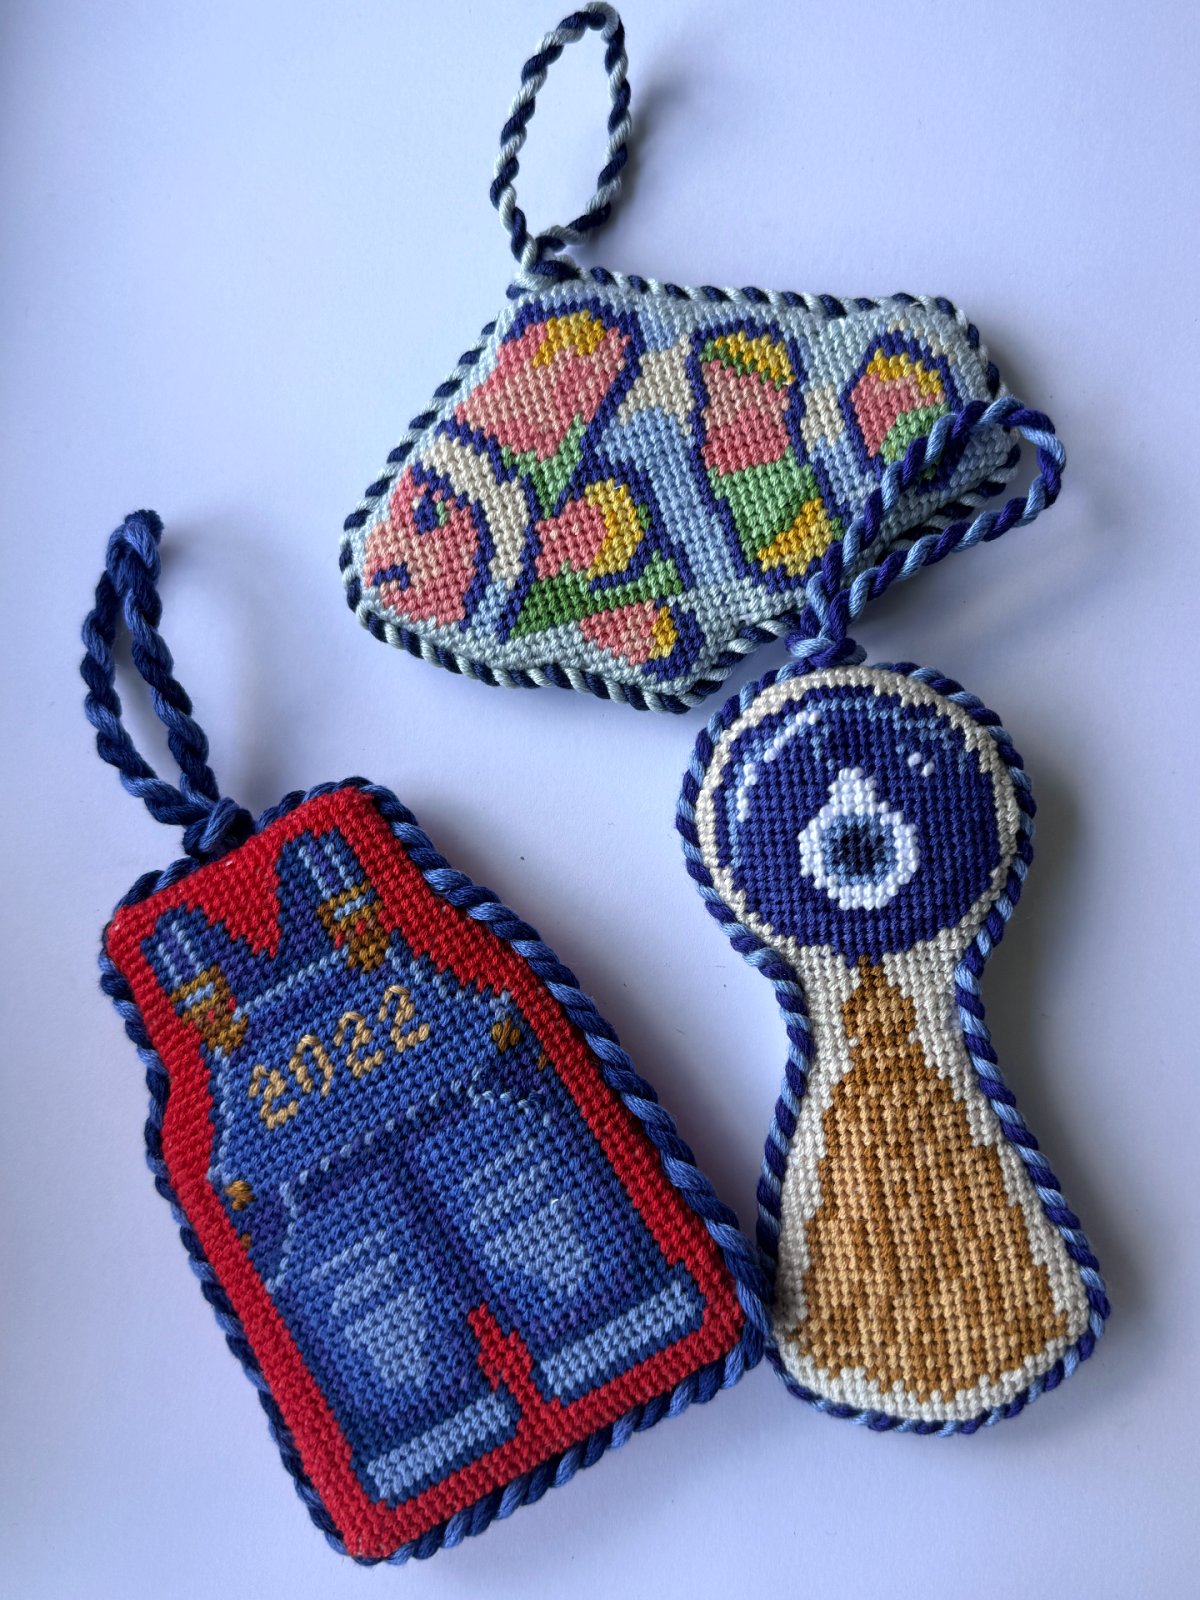
Finishing involves blocking (stretching and steaming your canvas flat), then choosing an end use: mounting on a pillow, framing, or turning it into a keyfob or coaster. Blocking prevents puckering and ensures clean edges. For small projects like keyfobs, you may only need to trim threads and glue backing. How to finish a needlepoint project depends on your design size and intended use, but blocking is the universal first step.
Needlepoint for complete beginners doesn't require expensive equipment or months of practice. It requires the right supplies, a realistic first project, and one solid stitch. Golden Hour Needlepoint's beginner-friendly designs and mesh calculator remove the technical barriers, so you can focus on the meditative, rewarding work of stitching. Start with a small project, master the tent stitch, and build from there. Within weeks, you'll have created something beautiful with your own hands.